
Alright, let’s dive into the exciting world of Angular! Today, we’re going to build your very first Angular application, the classic “Hello World,” and explore the project structure that makes it all tick. Get ready to code, learn, and have some fun!
Prerequisites:
Before we begin, make sure you have the following installed:
Node.js and npm: Angular relies on Node.js and its package manager, npm. You can download them from the official Node.js website.
Angular CLI (Command Line Interface): The Angular CLI is a command-line tool that makes it easy to create, develop, and maintain Angular applications. Install it globally using npm:
<code>npm install -g @angular/cliStep 1: Creating a New Angular Project
Open your terminal or command prompt.
Navigate to the directory where you want to create your project and run the following command to create a new Angular project:
<code>ng new hello-world
This command will create a new Angular project named “hello-world.” You’ll be prompted with a few questions:
“Would you like to add Angular routing?” (Answer: Yes or No, for this example we can choose No)
“Which stylesheet format would you like to use?” (Choose any option out of CSS, SCSS, or another option)
Once the project is created, navigate into the project directory:
<code>cd hello-world
Step 2: Running the Application
To start the development server, run the following command:
<code>ng serve --open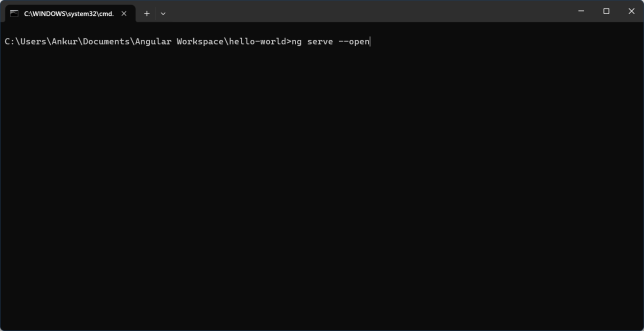
This command will compile your application, start a local development server, and open your default web browser to http://localhost:4200/. You should see the default Angular welcome page.

Step 3: Modifying the “Hello World” Message
Open the project in your favorite code editor (like VS Code).
Navigate to the src/app/app.component.html file. This file contains the HTML template for your application’s root component.
Replace the existing content of the file with the following:
<code><h1>Hello, World! Welcome to Angular!</h1>
Save the file. Your browser will automatically refresh, and you should see the “Hello, World! Welcome to Angular!” message displayed.

Understanding the Project Structure
Now, let’s take a closer look at the project structure:

Project Root
- .angular/: Stores Angular CLI cache and build-related files.
- .vscode/: Contains workspace settings for Visual Studio Code.
- node_modules/: Stores all the installed dependencies from
package.json. - public/: Used for storing static assets like images or icons.
- src/: This is the main source directory of your Angular application.
Inside src/
- app/: This directory contains the application’s components, modules, and services.
- app.component.ts: Defines the root component’s logic and behavior.
- app.component.html: Contains the HTML template for the root component.
- app.component.css: Defines the styles specific to the root component.
- app.component.spec.ts: Contains unit tests for the root component.
- app.config.ts: Manages configuration settings for the application.
- app.routes.ts: Defines the application’s routing configuration.
- index.html: The main HTML file where the Angular application gets injected.
- main.ts: The entry point of the application that bootstraps the root module.
- styles.css: Global CSS styles for the entire application.
Configuration & Metadata Files
- .editorconfig: Defines coding style rules for the project.
- .gitignore: Specifies files and folders to exclude from Git tracking.
- angular.json: Configuration file for Angular CLI settings.
- package.json: Lists project dependencies and scripts.
- package-lock.json: Records the exact dependency versions for consistency.
- README.md: Provides documentation about the project.
- tsconfig.app.json: TypeScript compiler configuration for the Angular application.
- tsconfig.json: Global TypeScript configuration.
- tsconfig.spec.json: Configuration for running tests.
Explanation of Key Files:
app.component.ts:
- This is where the component’s logic resides. It uses Typescript.
- The
@Componentdecorator defines the component’s metadata, such as its selector, template, and styles. - example:
import { Component } from '@angular/core';
import { RouterOutlet } from '@angular/router';

@Component({
  selector: 'app-root',
  imports: [RouterOutlet],
  templateUrl: './app.component.html',
  styleUrl: './app.component.css'
})
export class AppComponent {
  title = 'hello-world';
}
app.component.html:
- This is the component’s template, where you define the HTML structure of the view.
- It can use Angular’s template syntax to bind data and handle events.
- example:
<h1>Hello, World! Welcome to Angular!</h1>
app.config.ts:
- This defines application configuration.
- It declares the components, services, and other modules that your application uses.
- example:
import { ApplicationConfig, provideZoneChangeDetection } from '@angular/core';
import { provideRouter } from '@angular/router';

import { routes } from './app.routes';

export const appConfig: ApplicationConfig = {
  providers: [provideZoneChangeDetection({ eventCoalescing: true }), provideRouter(routes)]
};
And there you have it! 🎉 You’ve successfully built your first Angular application and taken a peek under the hood at the project structure that powers it. 🚀 From setting up your environment to displaying your custom “Hello, World!” message, you’ve laid the foundation for your Angular journey. 🏗️ This is just the beginning, of course. Angular offers a vast and powerful ecosystem for building complex and dynamic web applications. 🌐 So, keep exploring, keep coding 💻, and most importantly, keep having fun 😄 as you delve deeper into the exciting possibilities of Angular development! ✨
References: