
.sdf (SQL Server Compact) format used here has since been discontinued by Microsoft and is no longer supported in modern Visual Studio versions. If you’re starting fresh today, consider SQLite, LocalDB, or SQL Server Express instead.
There are already thousands of tutorials on the web for this kind of thing, and most of them are unnecessarily complicated. They use too many columns and too much code, which just ends up confusing beginners. So I’m going to show you how to build your first database VB app the simple way — three columns only (ID, Name, City), and almost everything done through drag and drop. No heavy coding needed.
Steps
Since we’re building a Windows Forms application, choose Windows Forms Application as the project template.
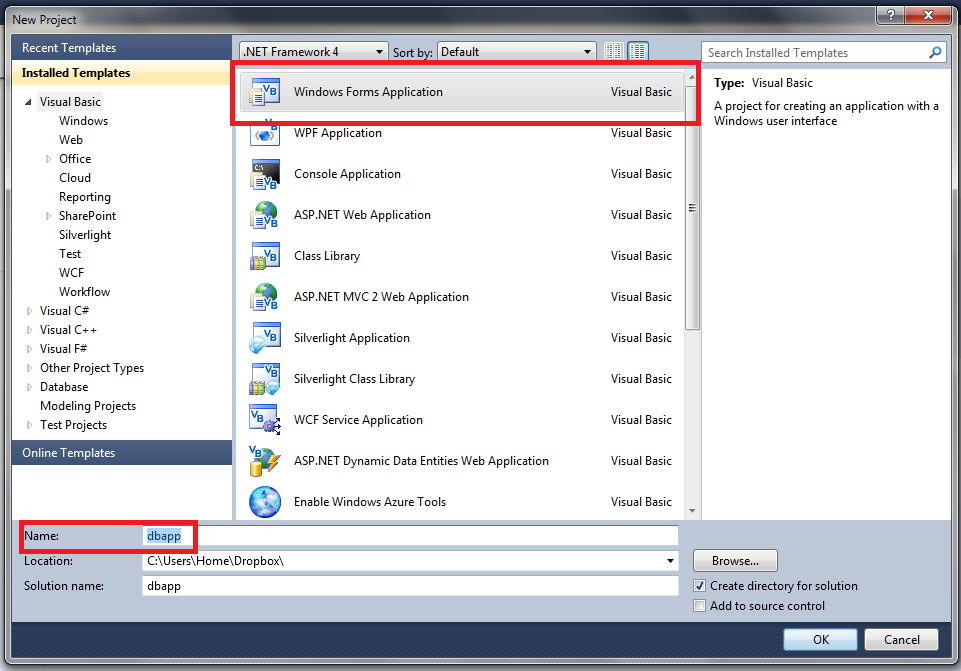
I’ve named the project dbapp, but you can call it whatever you like.
Once the project loads, you’ll see a blank form. Head over to the Solution Explorer and find your project name (highlighted in red below).
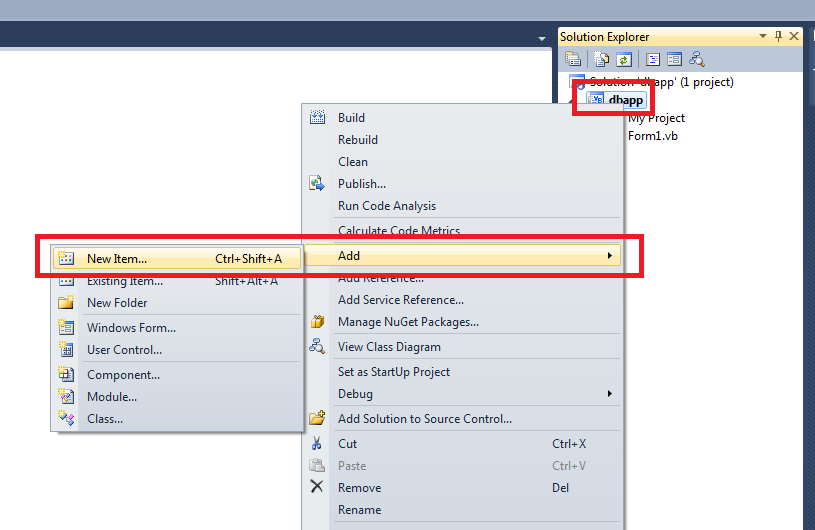
Right-click your project name, select Add, then New Item.
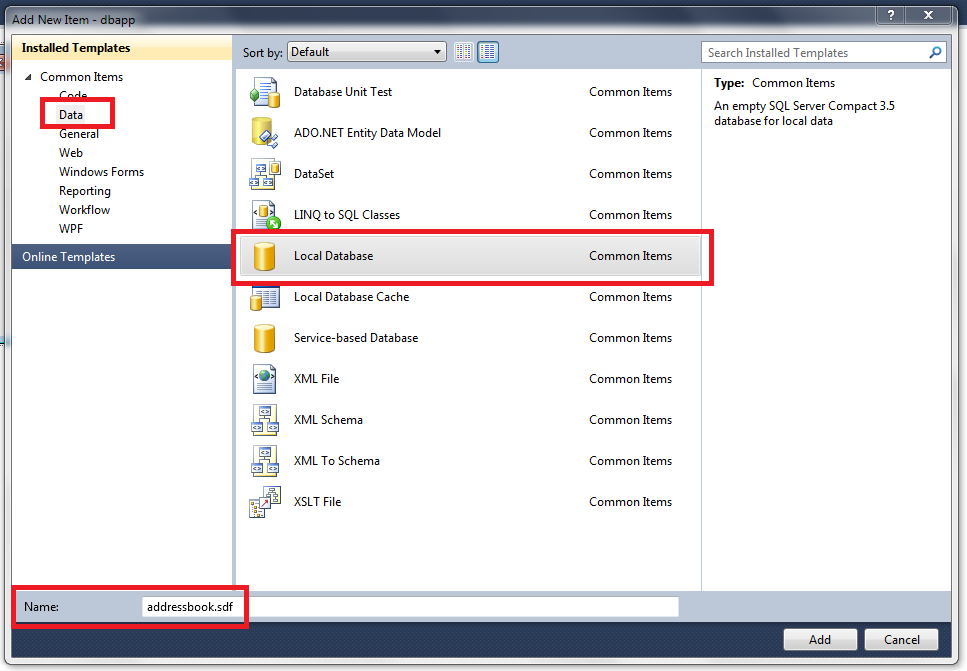
Since we’re storing data locally, choose Local Database from the Data section. I’ve named it addressbook. Click Add.
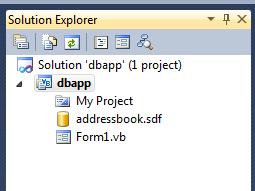
You’ll see addressbook.sdf appear in Solution Explorer, and the Data Source Configuration Wizard will open automatically.
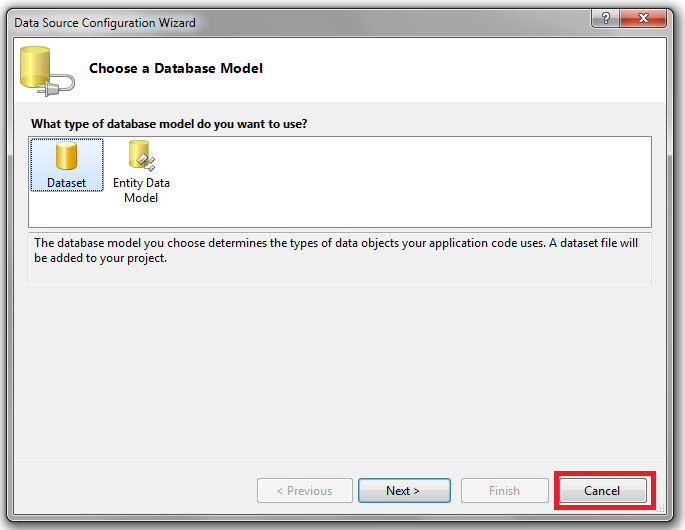
The database is empty right now, so click Cancel. We’ll come back to the wizard once we’ve added some data.
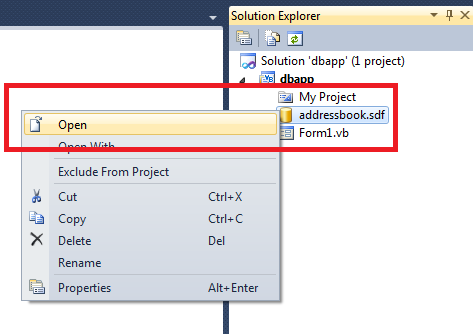
Right-click the database file in Solution Explorer and choose Open.
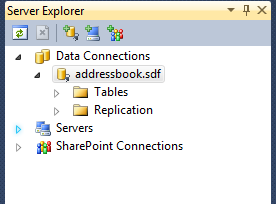
The Server Explorer tab opens on the left. You’ll see addressbook with two folders: Tables and Replication.
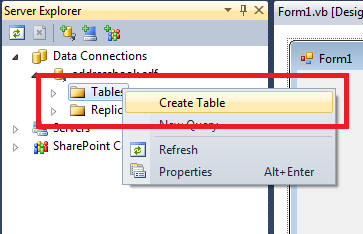
Right-click on Tables and select Create Table.
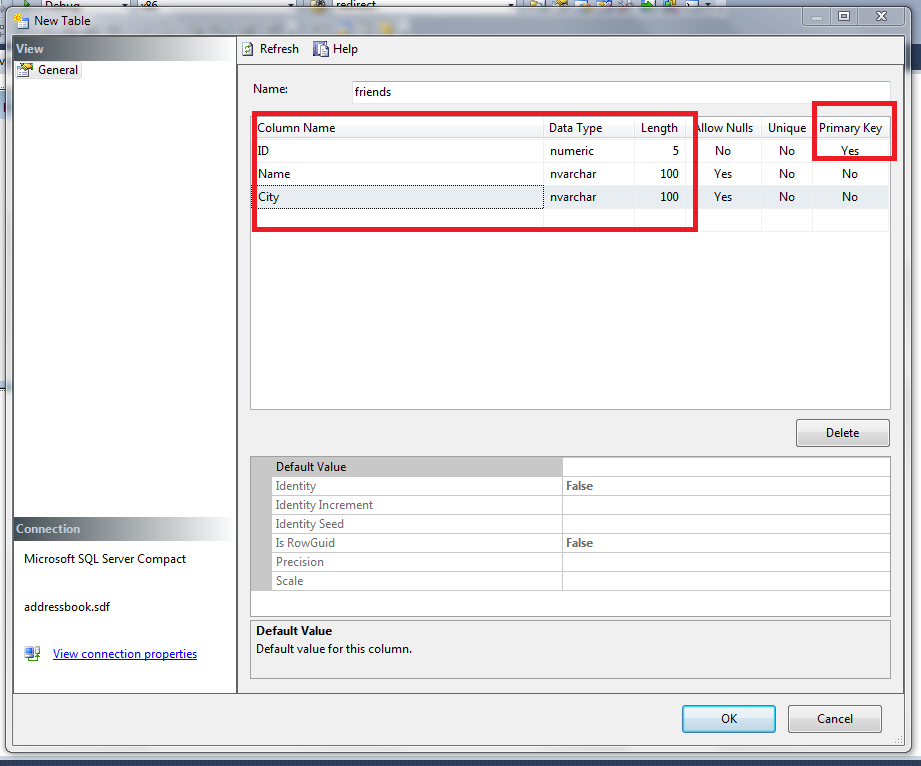
Name the table friends and add these three columns:
ID — Type: Numeric, set as Primary Key
Name — Type: nvarchar (text)
City — Type: nvarchar (text)
Click OK when done.
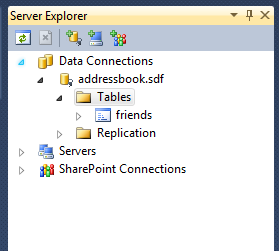
The friends table is now created. It has no data yet though, so let’s add some.
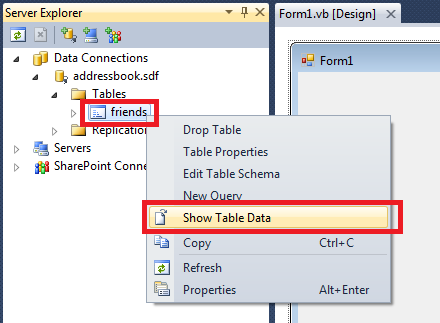
Right-click the friends table and select Show Table Data. A blank grid with your three columns appears.
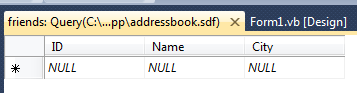
Click any cell and start typing. Data saves automatically whenever you move to a different field, so there’s no need to keep hitting Ctrl+S.
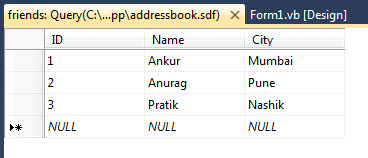
Once you’ve added a few records it’ll look something like the screenshot above. Now let’s connect this database to the app.
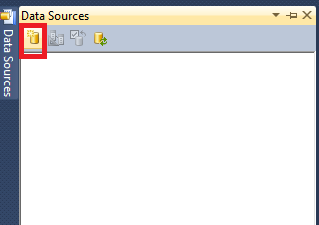
Open the Data Source tab on the left (enable it from the Data menu if it’s not visible). Click Add New Data Source.
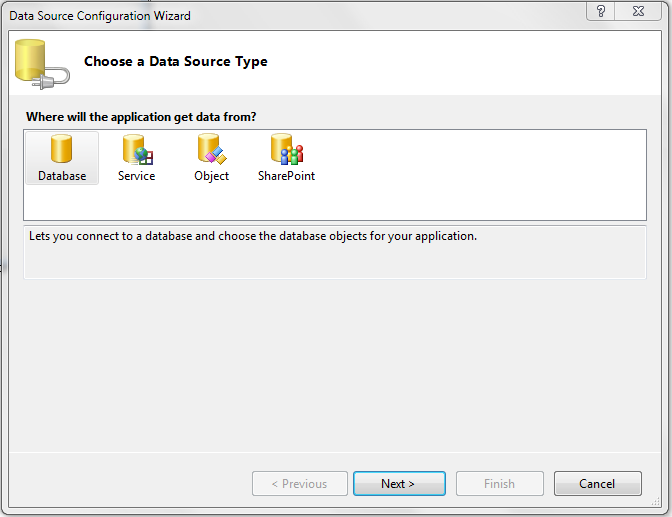
The Data Source Configuration Wizard opens. Select Database and click Next.
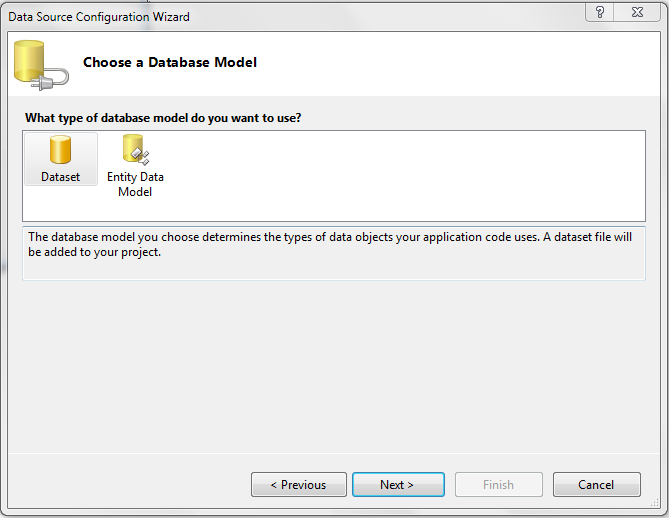
Choose Dataset as your model and click Next.
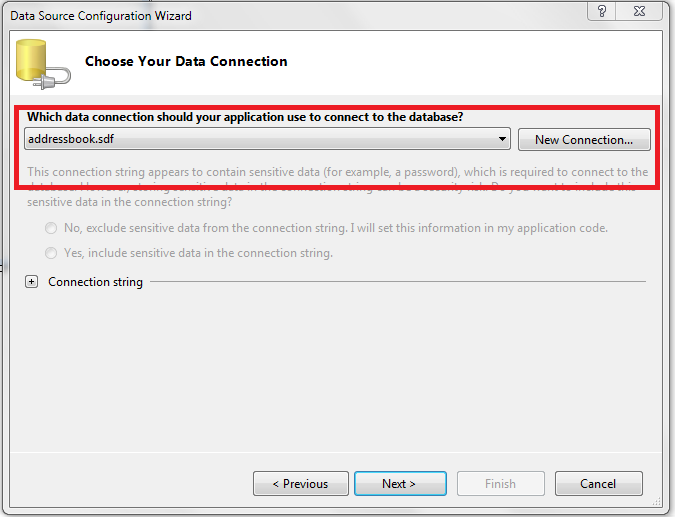
Since you only have one database, the wizard selects addressbook.sdf automatically. Click Next.
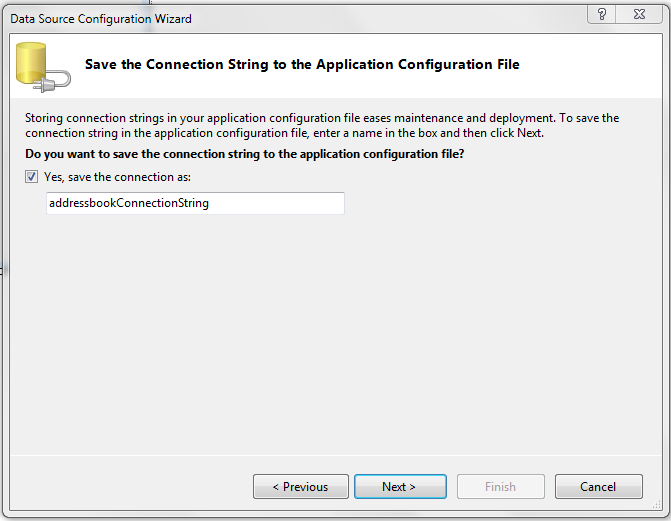
Leave the connection string name as the default and click Next.
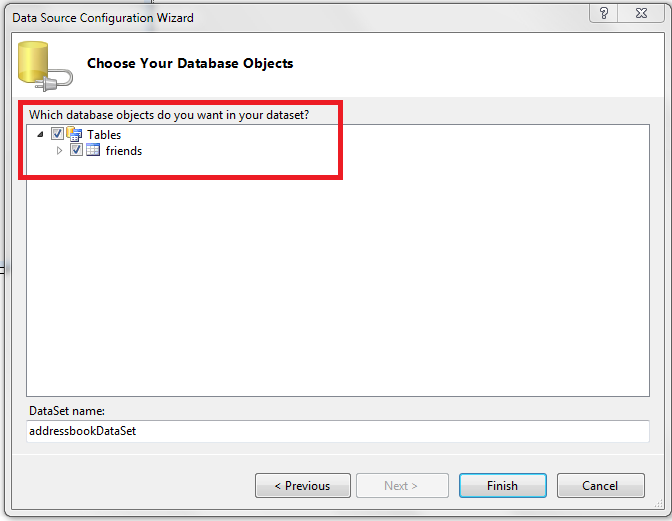
Tick the checkbox next to Tables to select everything. Leave the dataset name as default and click Finish.
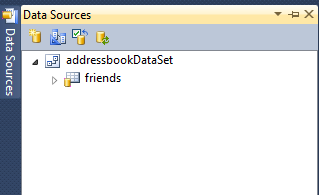
Your dataset is now listed in the Data Source pane. The database is connected. Now let’s build the interface.
Navigate to your form designer and resize the form if needed.
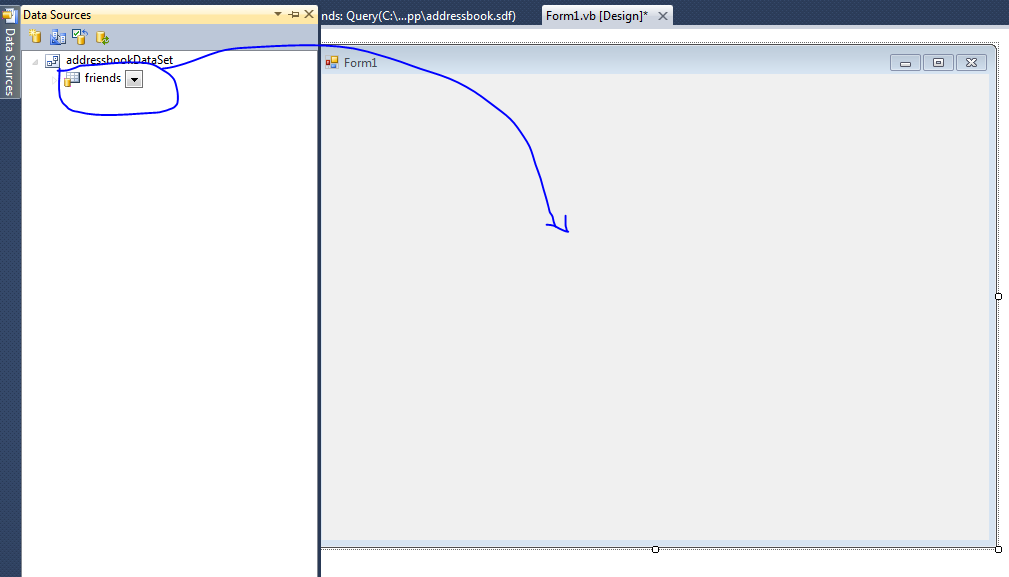
From the Data Source pane, drag the friends table onto your form. Release the mouse and all the database controls appear automatically.
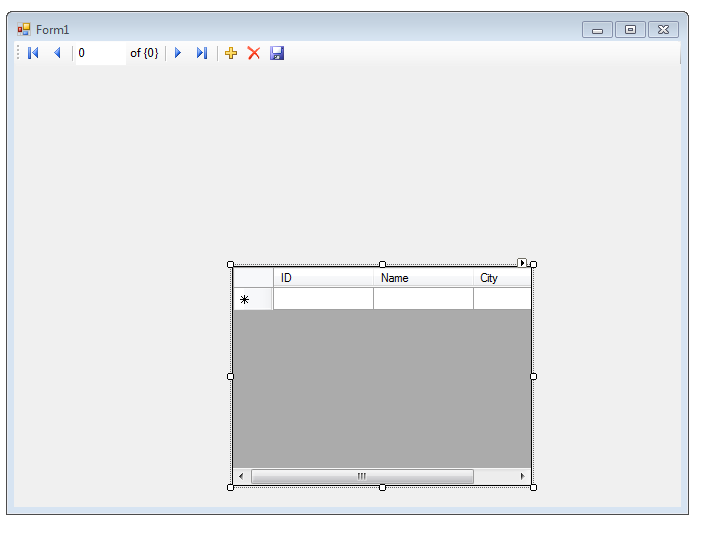
The controls will land in a random order. Rearrange them to make the form look clean.
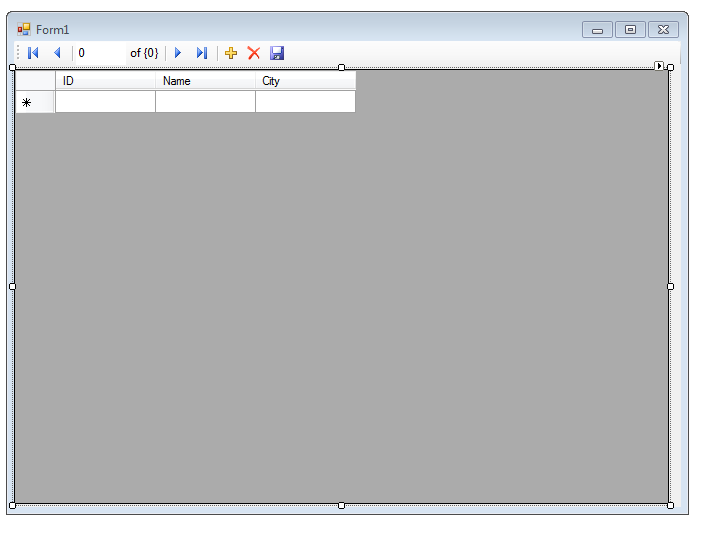
That’s it. Run the project.
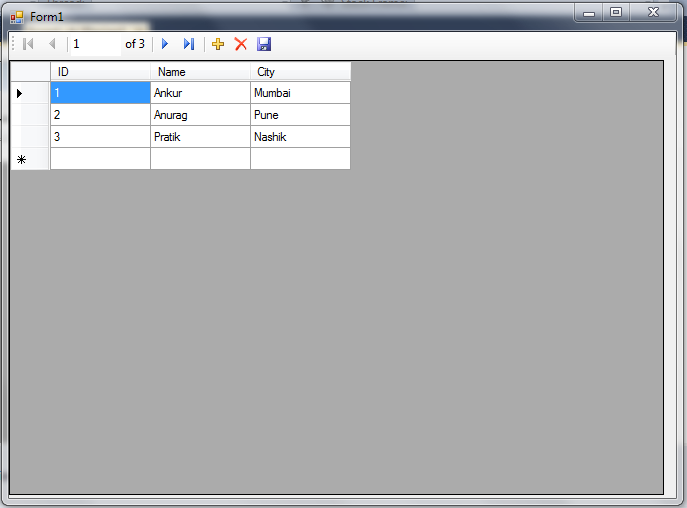
All the records you entered earlier are already there. You can browse through them, edit existing ones, or add new entries on the fly. Just click on an empty row and start typing.
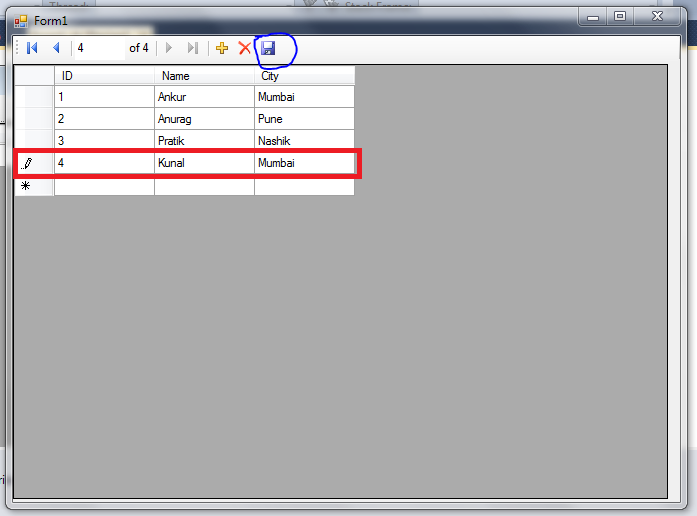
Hit the Save button when you’re done and the records get written back to the database.
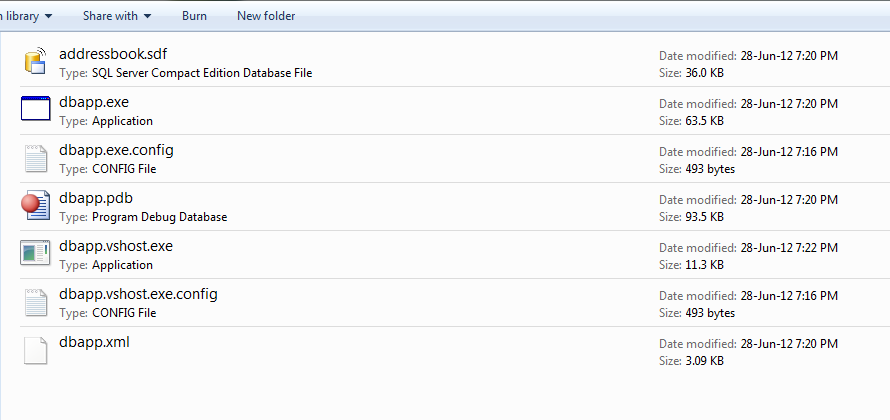
Check your debug folder and you’ll find addressbook.sdf sitting there with all your data in it.
That’s all. This is how you connect a database to a VB application in Visual Studio — mostly drag and drop, barely any code.
Wonderful information.Thanks fro sharing it 🙂
thanks for good understanding
Hi, do you have tutorial on how to add data to local database without using the binding navigator? I wanted it to be just buttons where I can save my data, edit or delete it. I needed it badly. Thank you
Hi Bryan have you had any success in getting into your project?
helpful information thanks
Wonderful website. Plenty of helpful information here. I am sending it to some pals ans
also sharing in delicious. And naturally, thanks for your sweat!
pretty useful for a beginner like me.