
Hey there, fellow coders! Ever wanted to build amazing web applications with Angular but felt a bit overwhelmed by the setup process? Don’t worry, you’re not alone! Today, we’re going to walk through setting up your local environment, making it as easy as pie.
What You’ll Need Before We Begin
Before we jump into the nitty-gritty, let’s make sure you’re familiar with a few basics:
- JavaScript, HTML, and CSS: These are the building blocks of web development. A solid understanding of these will make your Angular journey much smoother.
- Command Line Interface (CLI): You’ll be using commands in your terminal or command prompt. Don’t worry, we’ll guide you through them.
- TypeScript (Optional): Angular is built with TypeScript, which adds static typing to JavaScript. While it’s helpful, you can start without deep knowledge.
Let’s Get Started: Dependencies and Installation
1. Node.js and npm:
Angular CLI relies on Node.js and npm (Node Package Manager).
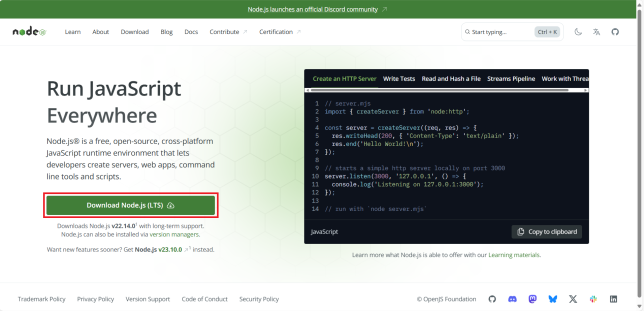
Head over to the official Node.js (https://nodejs.org/en) website and download the latest LTS (Long Term Support) version by clicking Download Node.js button.
Once it is downloaded, double click on the downloaded file to start its installation. Installing Node.js will automatically install npm.
As stated in the angular documentation, it is important to use an active or maintenance LTS version of node.js. Please refer to the angular version compatibility guide for more details.
2. Installing the Angular CLI:
Open your terminal or command prompt and run the following command to install Angular CLI:
npm install -g @angular/cli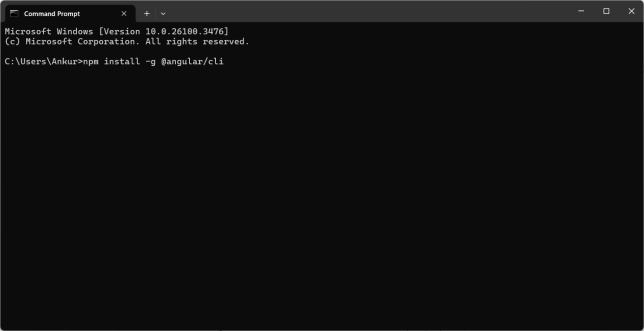
The -g flag installs the CLI globally, so you can use it from any directory.
A Quick Note on Permissions
Windows (PowerShell):
You might encounter issues with PowerShell’s execution policy. If you do, run this command:
Set-ExecutionPolicy -Scope CurrentUser -ExecutionPolicy RemoteSignedAs always, be sure to understand what this command does before running it.
Unix-like Systems (macOS, Linux):
If you get a permission error, try running the npm install command with sudo:
sudo npm install -g @angular/cliUse sudo with caution!
Creating Your First Angular Workspace and Application
1. Generate a New Workspace:
In your terminal, navigate to the directory where you want to create your project and run following command:
ng new my-app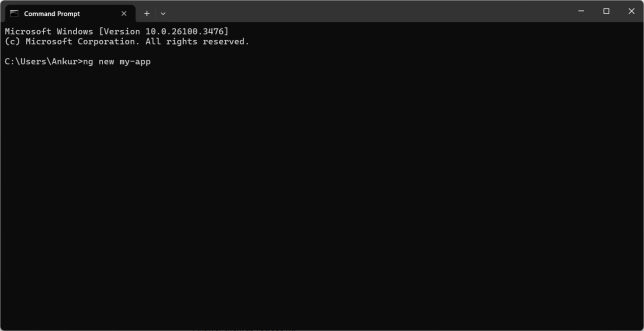
Replace my-app with your desired project name.
The CLI will ask you a few questions about features you want to include. Answer them as you see fit.
2. Navigate to Your Project Directory:
Once the installation is complete, navigate to your project directory:
cd my-appRunning Your Angular Application
1. Start the Development Server:
Run this command to start development server:
ng serve --open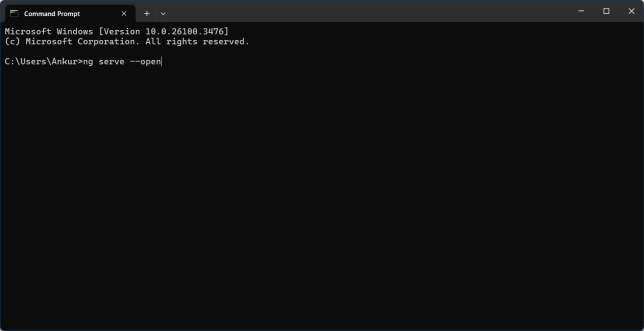
The --open flag automatically opens your browser to http://localhost:4200/, where you’ll see your running application.
The ng serve command also watches your files for changes and automatically refreshes your browser.
And there you have it! You’ve successfully set up your Angular development environment and launched your first application. It might seem like a few steps, but each one is crucial for building robust and dynamic web apps with Angular. Now that you have your local setup ready, you’re all set to dive into the exciting world of Angular development. Happy coding and get ready to build some incredible things!
References: