
-subdomain flag) are no longer available on the free plan, and the auth token command has changed to ngrok config add-authtoken <token>. The general approach of tunnelling localhost for Facebook OAuth is still valid — see the current ngrok documentation for up-to-date instructions.
As a programmer you do develop every application on your machine first and then you test it on same machine and then you push it to remote test/production environment. You are developing a Facebook app and your requirement is user must login to use the app. Now you are ready with local environment, you have created a new project in your powerful IDE, you have downloaded the SDK, you are done with creating a new app in FB developer, now you are trying to add app domains to get access to FB’s oAuth API. Hmm….. Something went wrong!… Facebook is not allowing you to use ‘localhost’ as app domain. Now what to do? Here is solution.
Use ngrok
ngrok is basically a simple and standalone application which allows you to put your localhost on the internet. This application allows you to access your localhost anywhere from the internet. How this application do this…. It creates a tunnel between your PC and their own gateway and then gives you an URL. All the request arriving at this URL will be forwarded to your computer for processing. Damn simple!
Let’s see how to use ngrok. Basically it is a free program which you can download from here. Even though the free version (without signup) is enough but the problem is that, it will assign a random subdomain every time when you use this app. That means you have to keep track of all those subdomain. Better alternative to this is .. Get a custom subdomain. To get a custom subdomain you will need to signup on ngrok website. Simply follow this steps and get your ngrok ready for use.
- Navigate to https://dashboard.ngrok.com/user/signup (ngrok signup) and simply fill the form and submit.
- If you have already downloaded the ngrok then skip this step else visit https://ngrok.com/download and download the client.
- Once you are signed up, you will be redirected to ngrok dashboard. Look for Authtoken section. Here you will find your key to authenticate ngrok client.
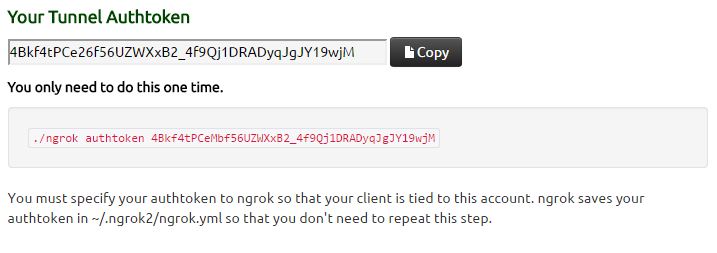
Copy this token on your clipboard. Simply just do a Ctrl + C.
- Extract ngrok archive to a easily accessible location.
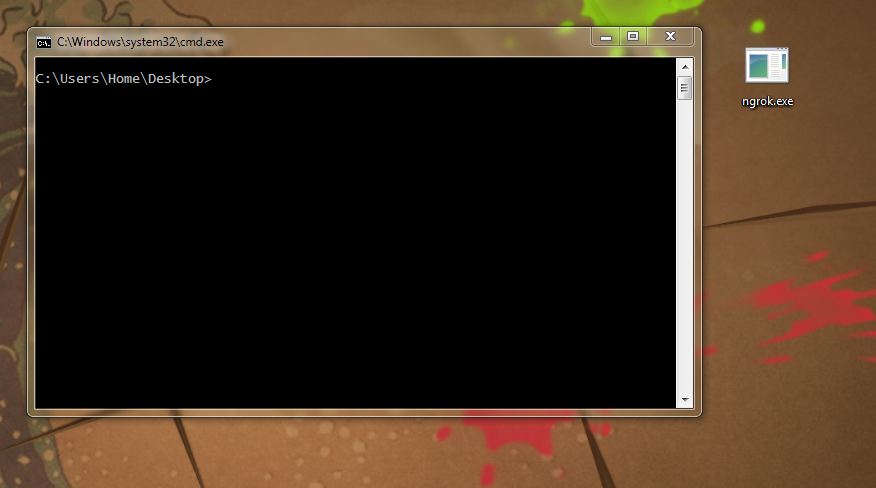
- Open Command Prompt or Shell and navigate to the location where you have unzipped the ngrok. Here in my case I have unzipped it on my desktop.
Now first we will need to insert Authtoken to our client. Let’s proceed further.
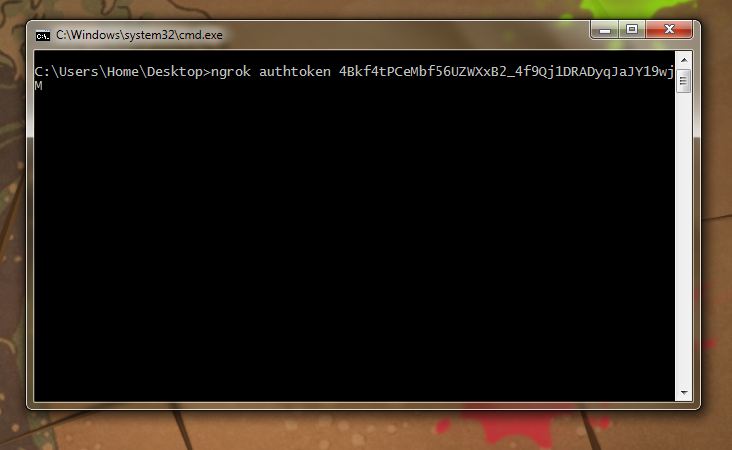
- Already you are having your Authtoken on your clipboard (if not the just go to ngrok dashboard and do a copy from Authtoken section). Now simply type
ngrok authtoken <your_token_here>
then replace <your_auth_token_here> with your Authtoken and hit enter. You should get a success message.
- Now lets proceed with tunnel creation. This step will assign a subdomain on ngrok.io tld and will forward all incoming requests to your localhost i.e. to your PC. To do this you have to use this command
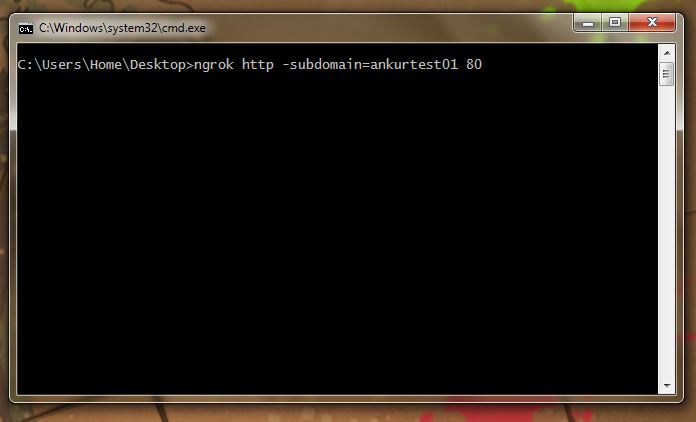
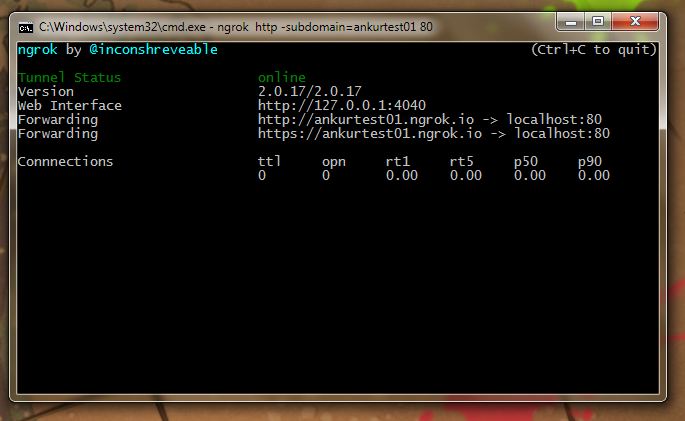
ngrok http -subdomain=<some_subdomain_name> <port>
Just replace the <some_subdomain_name> with your desired name, replace the <port> with the port number of you web server and hit enter. In my case I have selected subdomain as ‘ankurtest01’ and my webserver is running on port 80 (standard port) so my input will be:
Once done, it will show you a screen with tunnel information and various other information which you can use for debugging.
That’s all! Now you are ready with ngrok. Now head up to Facebook developer. Let’s configure your app there.
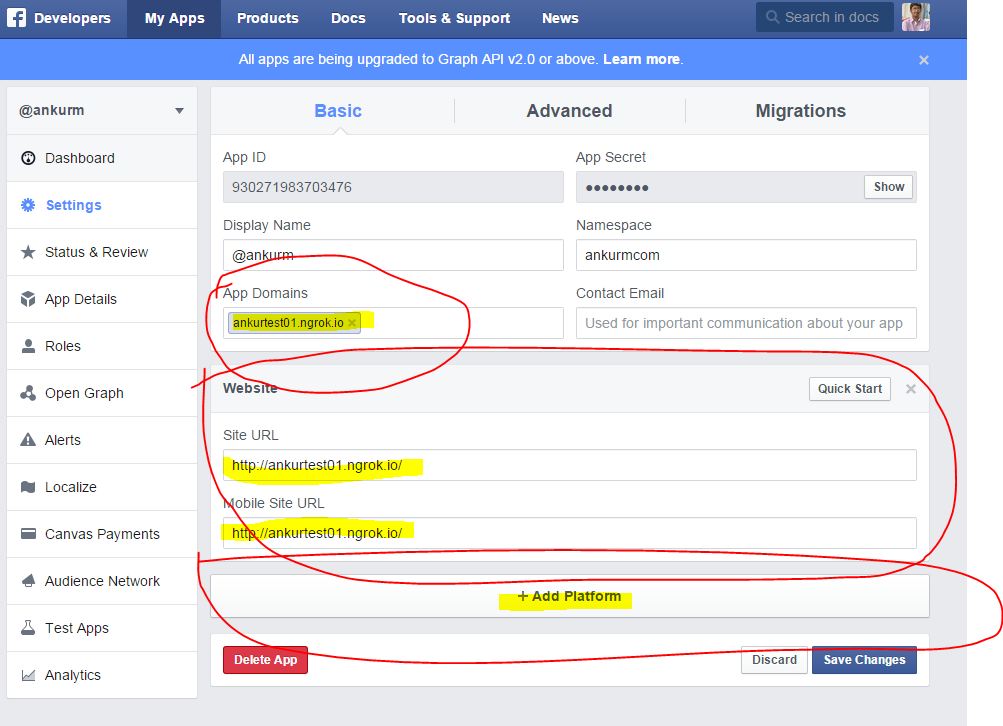
Open Facebook developer > Navigate to your app > Open Settings page from menu. Then do following steps.
- Click on ‘+Add platform‘ button.
- Select ‘Website‘ from option list
- Enter your ngrok url (here in my case ‘http://ankurtest01.ngrok.io’, of course you have to include ‘ngrok.io’ also) in Site URL and Mobile Site URL textbox.
- Enter same url but without ‘http://’ in App Domains.
- Update the ‘redirect_uri’ in your app accordingly.
That’s all! Now you can complete your oAuth requests and can develop Facebook apps locally on your machine.
This no longer works for free ngrok accounts. Here is what I got after creating the tunnel:
Tunnel session failed: Custom subdomains are only available for paid plans. Upgrade at https://dashboard.ngrok.com/billing