Category Archives: Uncategorized

Speed Up Your Site with Chrome Prerendering

While stumbling upon the web for Web 3.0, I come across a best tool for web designers.  You might know that there is an option for turning on or turning off Network Prediction in Google Chrome. Google claims that this option is useful to decrease load time of a page & the page is instantly loaded on your browser when you click on link. Here is a video on this pre-rendering, a feature of Google Chrome. This feature is also referred as Instant Pages.

What is prerendering?

According to Web developer’s Guide from Google

Prerendering is an experimental feature in Chrome (versions 13 and up) that can take hints from a site’s author to speed up the browsing experience of users. A site author includes an element in HTML that instructs Chrome to fetch and render an additional page in advance of the user actually clicking on it.

How to implement it?

Adding support for Instant Pages to your website is extremely simple. Open your website template or code whatever you call and, before the closing </head> tag, include the following code:

<link rel="prerender" href="http://example.com/page2.html">

The URL (example.com) should point to the next “logical” page. For instance, if you have a photo gallery or a long article that spans multiple pages, the URLs could point to different parts of the page. The prerender tag on Page 1 could point to Page 2 while the prerender tag on Page 2 could point to Page 3 and so on.

How to implement it on WordPress based websites?

Feel yourself lucky. It need some efforts to add this code on each and every page of your site if you are using static website. But as you are WordPress user, just single line of code will do all of your work.

What you have to do is, Just open up header.php from your theme and add following lines before tag.

<!-- Instant Pages for Google Chrome -->
<link rel="prerender" href="<?php echo get_next_posts_page_link(); ?>">

That’s all.

For more information you can visit Google Web Developer Guide.

Behind The Scenes: The HJKL Keys

If you are a Gmail user, with keyboard short codes enabled then you might have noticed that you can use j and k keys for navigation within GMail. You can use J key to navigate to previous (older) message & K key to navigate to the newer message from your inbox. Even the navigation using J and K keys is quite popular in others website also such as makeuseof.com , Google Reader and even at tumblr also. This J-K key combination may be  found at many blog sites also. Even many developers use this keys in their applications for navigation purposes.

Now the question is why J & K only. Why not others ?

The history is quite interesting. Let’s have a look on it.

Keyboard of ADM-3A Terminal

Everything is started from UNIX era. When Bill Joy created the vi text editor for Unix, he used a ADM-3A terminal. The fact of this terminal is, the keyboard didn’t have the arrow keys. You can see the layout of ADM-3A terminal’s keyboard in above illustration.  Instead the keys h, j, k and l were inscribed with arrow symbols and these keys, in combination with the Ctrl key, were used for moving the cursor on the screen.

Now time is changed. Now-a-days the keyboard got dedicated arrow keys. Layout is changed. But still same J & K keys are still popular for navigation. UNIX is a most known operating system and have lot’s of developer worldwide & still they use J & K keys for navigation in their applications.

Wikipedia has more details on the history of vi and the HJKL keys. You can refer that also.

Turn Your Facebook Timeline Into a Movie

Just a few months ago, Facebook launch it’s brand new feature called Facebook Timeline. Facebook Timeline allows you to display your profile in Timeline view. Many of you might have activated it and also using it. Many of you liked it and many of you are not. But we are not here to talk about what you like about timeline and what you not, instead of that we are here to discuss about a great website.

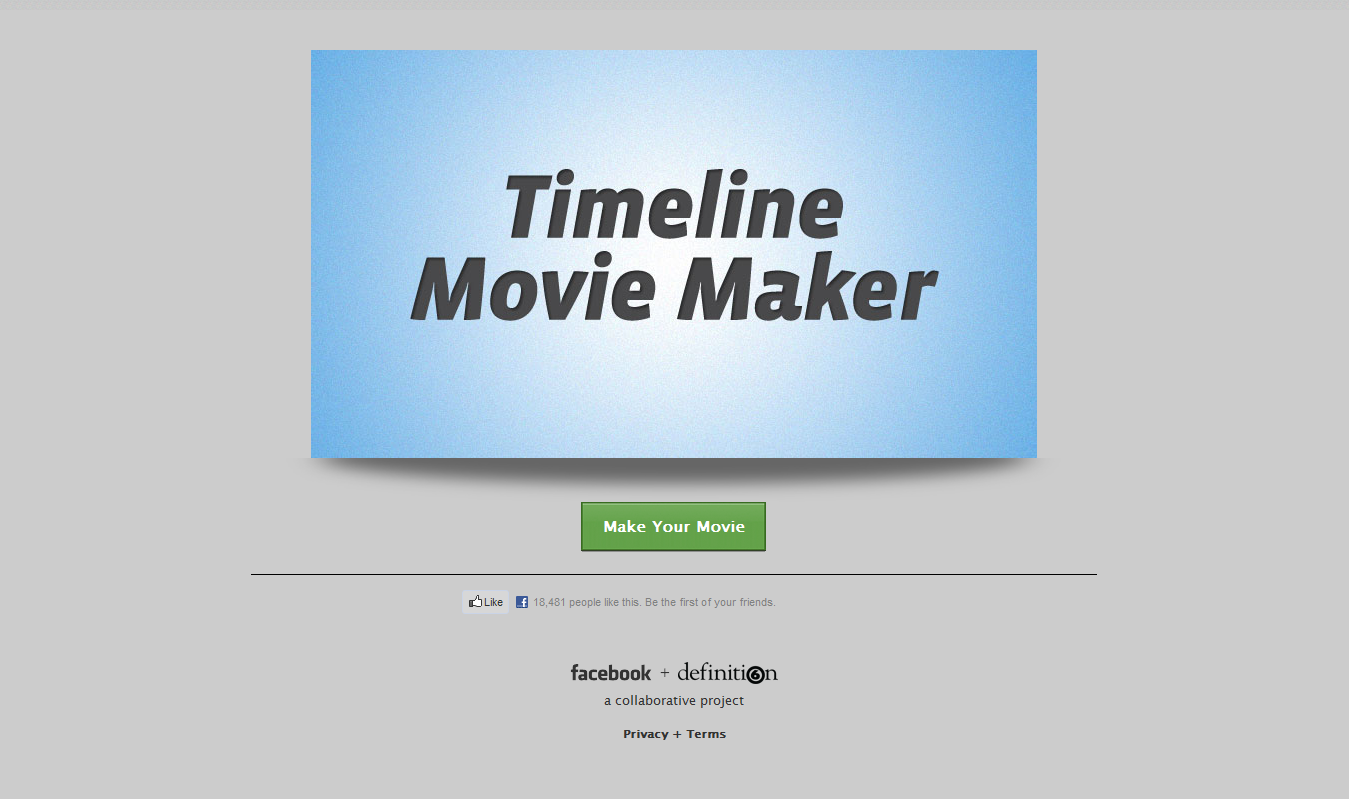
If you have activated the Facebook Timeline then you may consider to try it. While stumbling upon the Web I found something interesting. Timeline Movie Maker a collaborative project of Facebook and Definition will transform your timeline into a beautiful video. This video will create a good flashback of your life. Just a simple click, and you will be a filmmaker. That’s all.

Timeline Movie Maker: Homepage

Once you click on Make Your Movie and then your movie will be ready in just a few minutes. Once the movie is made, the tool allows you to change the movie’s music and replace any image, video or check-in.

The movie maker is great but still it do not have any option to save or embed your movie. Maybe in feature this options will be made available. Still it is interesting.

Timeline Movie Maker

Starting With Oracle SQL

Here in this post I am going to show you how to connect and start SQL using your command prompt. Actually you can use Run SQL Command Line from start menu but problem is that it do not support copy and paste commands which are generally required by most of the developers like you and me. So let’s see how to connect to SQL database using command prompt.

But of-course for doing this you will need Oracle SQL to be installed on your PC. If you are not having it, you can download from the following link.

Download Oracle SQL Express Edition 11g

Oracle SQL is a free to use software but while downloading you might need to login to your Oracle account. If  you are not having an Oracle account, then you can create it for free using sign up option.

The download is nearly 350MB in size. Once downloaded you need to extract to content of zipped file and then launch setup.exe. The setup options are quite similar to other setups. So you are familiar with them or else you can simply go on clicking Next Next ….

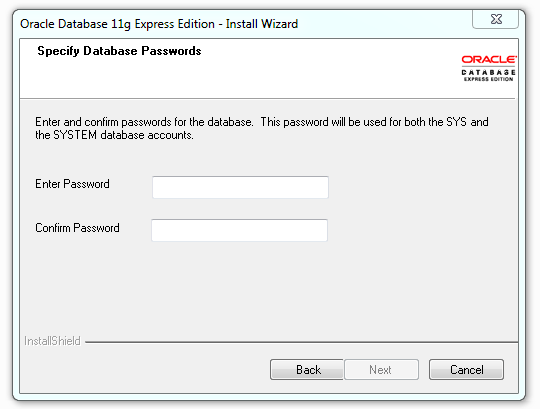
While setting it up, you might come across a screen shown below.

On this screen you are suppose to enter password for SYS and SYSTEM user. In oracle database this two are the users with administrative privilege. If you are going to use this installation for development purpose then you can choose ‘admin’ as password. Because admin is very simple to remember and also very simple to enter. You can use your own password also. Once you have chosen password click on next.

As soon as you click on next, the setup will begin to install Oracle SQL on your PC. Wait until setup complete.

Continue reading Starting With Oracle SQL

Folder Colorizer: Change Icon Color Of Any Folder In Windows

Folders actually used to store set of related files. Of-course if you are hardcore computer user then you will have a lot of folders on drive or in folders for a huge list of different purposes. While handling a lot of folders, it may happen that you might miss out important ones. Also the default Yellow color of folders (which is predefined by Microsoft) is looks boring after sometime. So here is a good tool for you. You may use this tool for customizing also.

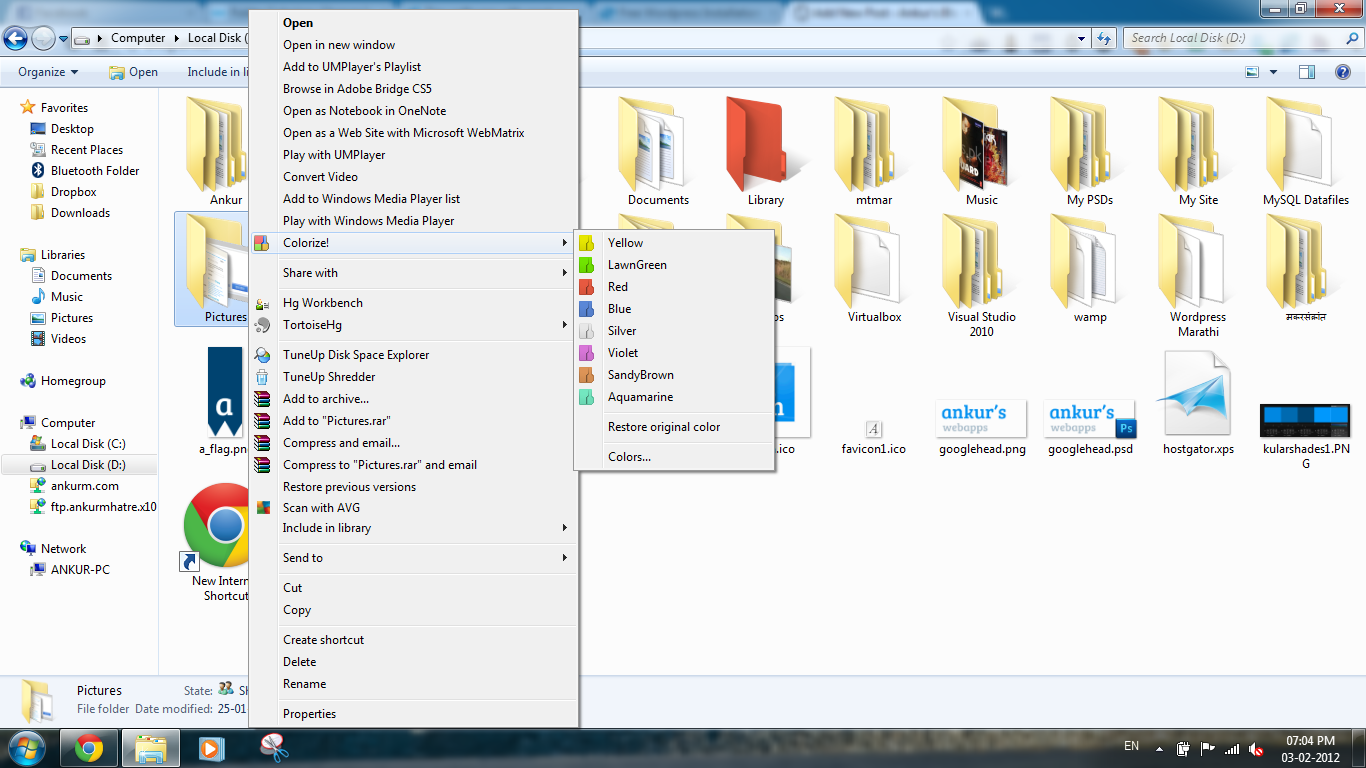
Folder Colorizer is an application which enables you to change the colors of folders in Windows Explorer in just two clicks. You can download this application from link which can be found at bottom of this post. After installation this application will add Colorize! menu in your context menu. From there you can choose different colors, so that you can apply to your folders. To change the color of a folder, right-click it, open Colorize! menu and select the color of your choice. The choices available by default include Yellow, Lawn Green, Red, Blue, Silver, Violet, Sandy Brown and Aquamarine.

Folder Colorizer in context menu
Folder Colorizer in Context Menu

Continue reading Folder Colorizer: Change Icon Color Of Any Folder In Windows

Getting Started With Google Web Fonts

From writing document to designing a poster or a website, Font is an important thing unless you are an artist. Fonts have a big place in all. The attractiveness of any work depends on fonts itself. Some of the good known fonts are Times New Roman, Aerial, ….. blah blah. Some of them comes pre-loaded with your operating system while some of them comes with some apps, while the remaining one are download by yourself. But this fonts are seen everywhere and are common also. Many of the organization uses them. So if you look on them carefully, you will find nothing new in them. Sometimes of this popular fonts also looks boring many times.

Then what to do?

There are many options available. If you search on Google you may find some of them. But still the problem is that fonts are not free. Maybe you will able to find some free fonts but still you will say that they are not interesting. So here is a good, free and best collection for your fonts need and that’s the Google Web Fonts.

You can visit Google Web Fonts by clicking on following link.

google.com/webfonts

A quick introduction to Google Web Fonts…

Google Web Font Logo

Google Web Font is a font gallery hosted by Google with more than thousands of free web fonts which are 700+ MB in size & still growing rapidly. All of the fonts are open source that means you will not need to pay or take permission for their usage. As stated by Google you are free to download, distribute and use them anywhere you want. You many have already visited this gallery by clicking on above link and may be seen some of interesting web fonts.

How to use them?

OK. You might have seen some fonts and now you fall in love with them and now you want to use them in your documents and/or work. So here are some simple steps. What you have to do is

  1. Select the fonts which you want to download.
  2. Add them to your collection.
  3. Download your collection to your PC.
  4. Once downloaded unzip, open them and click on install.

Continue reading Getting Started With Google Web Fonts

Customize And Tweak Windows Taskbar With Ultimate Taskbar Controller

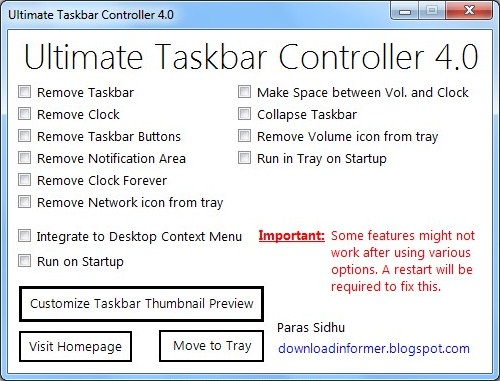
Everyone wants to customize their PC for a good personal experience and here is again a tool which will help you to simplify this tedious task, Ultimate Taskbar Controller will help you to do tweak your taskbar as per your requirements. With Ultimate Taskbar Controller you can Remove Clock, Make space between Volume and Clock, Remove Notification Area and much more.

Ultimate Taskbar Controller Screenshot

What you have to do is Just download this application by following this link then open this app. Just check the options which you wants to enable, or uncheck the option which you wants to disable & you will see changes immediately. If immediate changes are not seen, then you can Restart or Log Off and Log On Again on your PC, for changes to take effect. It is available for Windows XP, Windows Vista and Windows 7.

Download Ultimate Taskbar Controller