Customize And Tweak Windows Taskbar With Ultimate Taskbar Controller

Note: I wrote this post back in 2012. It covers a tool designed specifically for Windows XP, Vista, and 7, so it likely won’t work on modern operating systems like Windows 10 or 11!

We all love customizing our PCs to get that perfect personal setup. If you’re looking for an easy way to tweak your Windows taskbar without digging through registry files, let me introduce you to the Ultimate Taskbar Controller. It takes the tedious work out of customization and lets you instantly tweak your taskbar exactly the way you want it. Want to hide the clock? Need more space between the volume icon and the time? Want to completely remove the notification area? This tool handles it all.
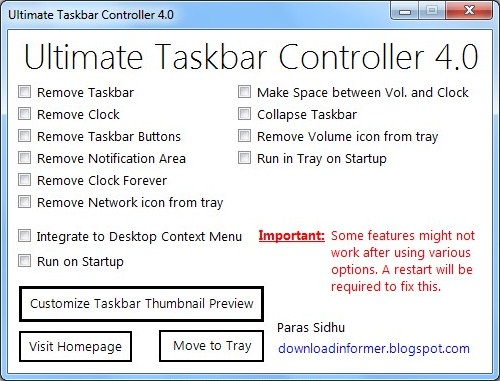
Ultimate Taskbar Controller Screenshot

Getting started is incredibly simple. Just grab the application from this link and run it. You’ll see a clean checklist of options. Check the boxes for the features you want to enable, and uncheck the ones you want to hide. You should see the changes happen immediately! If your taskbar doesn’t update right away, just log off and log back in, or restart your PC to force the changes to take effect. It’s fully compatible with Windows XP, Vista, and Windows 7.
Download Ultimate Taskbar Controller

UMPlayer: Play Anything

Note: I originally wrote this post in 2012. UMPlayer is no longer actively maintained. Today, I’d highly recommend using VLC or SMPlayer instead!

Windows Media Player comes built into Windows, but it’s notorious for not being able to play every media format out there. That’s why so many of us have shifted to VLC. VLC is a fantastic, free media player that handles almost anything you throw at it. But what happens on that rare occasion when even VLC struggles to play a file?

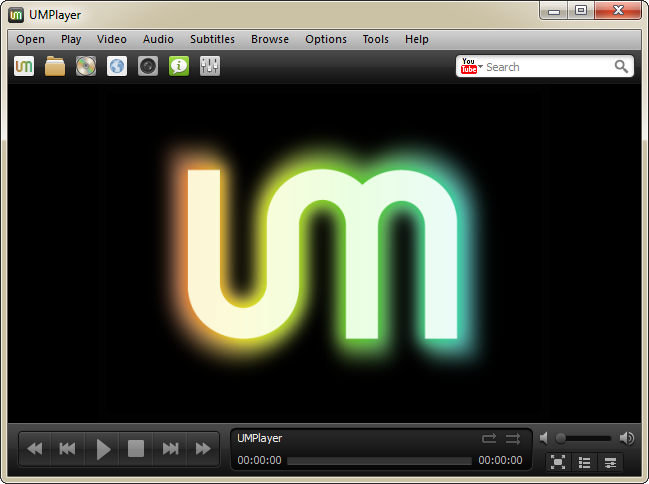
Let me introduce you to UMPlayer (Universal Media Player), another free and open-source alternative. The most impressive thing about UMPlayer is that it comes packed with over 270 built-in audio and video codecs. It handles nearly every media format imaginable, including AAC, AC3, ASF, AVI, DIVX, FLV, H.263, Matroska, MOV, MP3, MP4, MPEG, OGG, QT, RealMedia, VOB, Vorbis, WAV, WMA, WMV, XVID, and a whole lot more. Plus, UMPlayer is portable, meaning you can drop it onto a pen drive and run it anywhere without installing it.

UMPlayer
UMPlayer

Continue reading UMPlayer: Play Anything

Page Snooze: Hide Tabs & Schedule Them To Open Later [Chrome Extension]

Note: I originally wrote this back in 2012. While Page Snooze was a cool concept at the time, browser capabilities and available extensions have changed a lot since then!

If you’re a hardcore web surfer, you’ve probably run into this problem: you’ve got dozens of tabs open across your screen, and you don’t even know which one to look at next. All those open tabs chew up your system’s memory, which inevitably leads to a browser crash. And if you run into a system fault, a blue screen, or a power outage, you risk losing all of them. Or, more simply, you just don’t have the time to read through all that content right now. Even if your browser doesn’t crash, the sheer clutter of that many tabs is pretty irritating.

If you’re using Google Chrome, I found a neat little extension that helps solve this called Page Snooze.

So, What Does Page Snooze Actually Do?

It’s a pretty clever concept. Page Snooze takes a tab and hides it away for a specific amount of time. Once that timer runs out, the tab automatically reopens in your browser window, right when you’re ready to deal with it.

You can grab the extension directly from the Chrome Web Store:
Download Page Snooze

Once you’ve installed it, you’ll notice a new clock icon sitting right next to your address bar.

Page Snooze
Page Snooze In Action

Using it is super intuitive.

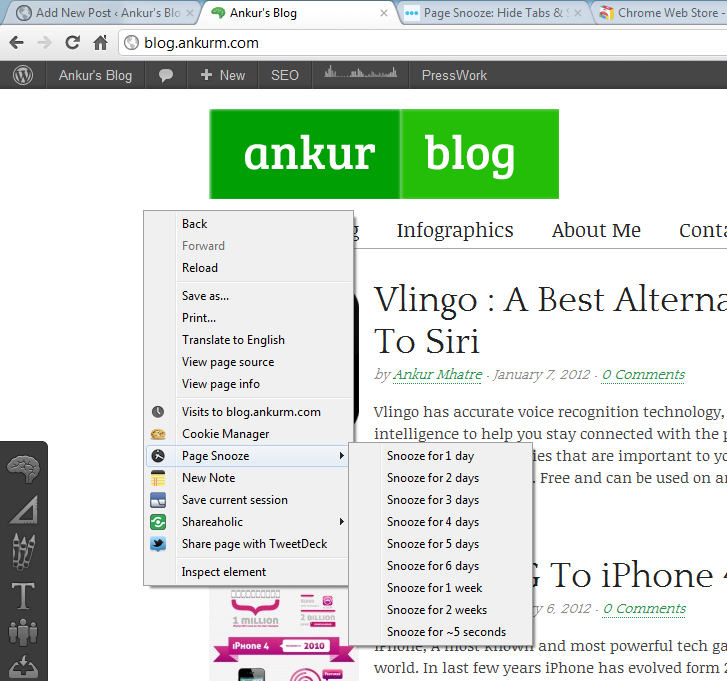
Just right-click anywhere on the page you want to hide, and you’ll see a new “Page Snooze” option in the context menu. Select how long you want to snooze it for, and poof—the tab vanishes. It’ll automatically spring back to life when the time is up.

Continue reading Page Snooze: Hide Tabs & Schedule Them To Open Later [Chrome Extension]

MetroTwit : Twitter Client For Windows In Metro Style

Note: I published this post in 2012 during the Windows 8 “Metro” era. MetroTwit was eventually discontinued in 2014 due to Twitter’s API limits, so you won’t be able to use it today. I’m keeping this post up for nostalgia!

When Windows 8 dropped, it brought us a completely new, flat UI called “Metro”. Inspired by that fresh design, developers built MetroTwit—a slick Twitter client right for your desktop.

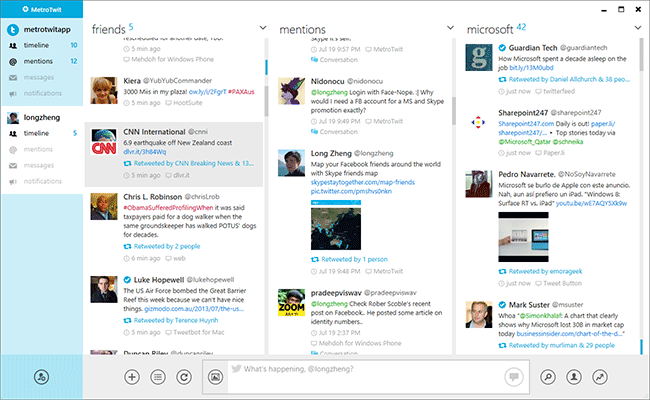
It’s a tiny download (just around 3.44 MB), but it packs an elegant, clean user interface that’s genuinely beautiful to look at and a real pleasure to read. It manages to be simple while still feeling incredibly powerful.

Metrotwit Screenshot

Continue reading MetroTwit : Twitter Client For Windows In Metro Style

MyPermissions : Check Who Is Accessing Your Social Profiles

Note: I wrote this back in 2012. While managing app permissions is still critical today, the specific tool mentioned here might have evolved or changed its domain.

Security matters. We constantly hear stories about someone’s Facebook account getting hacked or a Gmail password being stolen. It’s an unfortunate reality of living online. But I recently stumbled across something incredibly useful for locking down your accounts: MyPermissions.

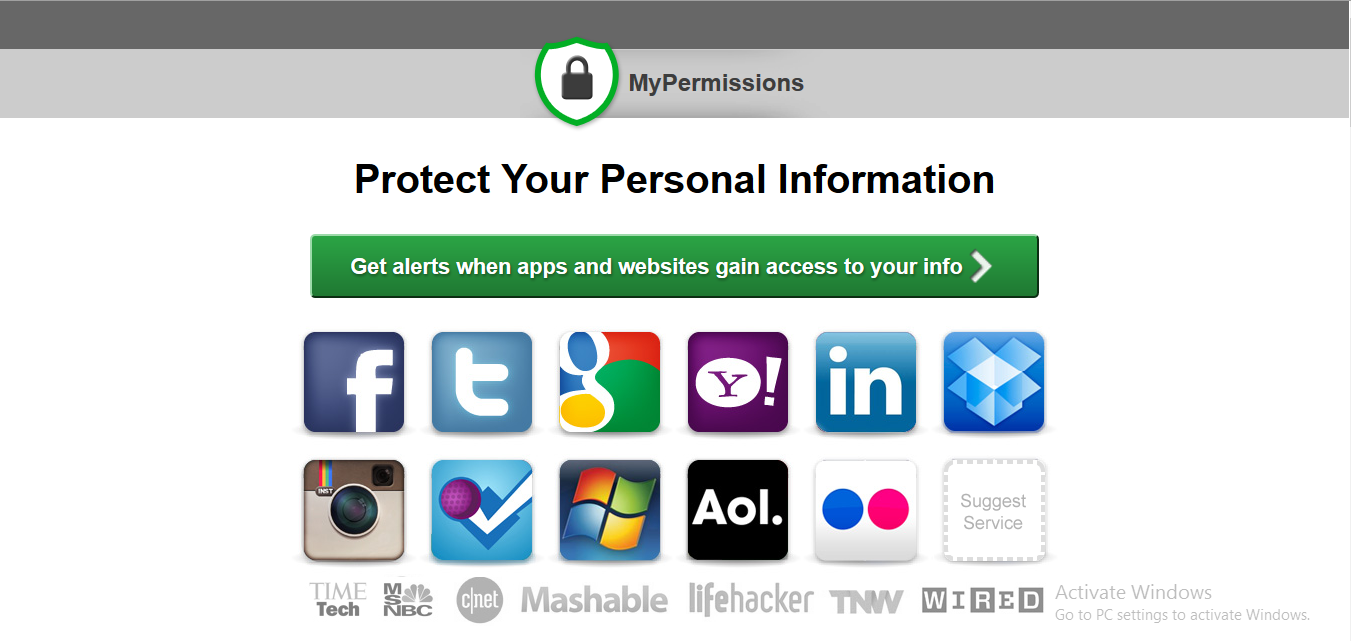
At first glance, MyPermissions doesn’t look like much—it’s essentially just a page with eight links. But that’s exactly why it’s great. They don’t ask for your passwords, you don’t need to create a username, and there’s absolutely no sign-up process.

All you have to do is head over to their site:
MyPermissions.org

When you get there, you’ll see a clean interface that looks like this:

MyPermissions Homepage

The next steps couldn’t be simpler:

  • Just click on the icon for the social network you want to check. It’ll take you straight to the permissions page where you can see exactly which third-party apps have access to your profile data.
  • From there, just revoke access for any apps you no longer use or that look suspicious.

Continue reading MyPermissions : Check Who Is Accessing Your Social Profiles

Facebook Timeline Customization: 5 Tools for Killer Cover Photos

Note: I originally wrote this post in 2012 when Facebook Timeline was brand new. Many of these third-party tools might be offline or have changed significantly since then!

Remember when Facebook Timeline first rolled out? It was a massive visual shift, and suddenly everyone had this huge, empty “Cover Photo” space at the top of their profiles just waiting to be customized.

If you’re looking to make your profile stand out, I’ve put together a list of some great services that let you build a killer cover banner.

  1. Pic Scatter
  2. Profile Picture Maker’s Timeline Cover Banner
  3. FaceItPages’ Timeline Cover Tool
  4. Cover Canvas
  5. CoverJunction

Every single one of these tools is unique in its own way. I recommend trying a few of them out to see which one helps you create the perfect vibe for your profile.

Aside from these standalone sites, there’s also a native Facebook app you can try out: the J4 Timeline Covers Facebook App.

If you want a deep dive into how each of these tools actually works, Mashable has a fantastic, full review of all these sites and apps. You can check that out right here.

(Source: Mashable)

Google Input Tools : Chrome Extension

Note: I originally wrote this post way back in 2012. While the Google Input Tools extension is still around, some of the interfaces, screenshots, and exact features might have changed. Keep that in mind as you read through!

Have you ever needed to quickly type something in your native language, but didn’t want the hassle of installing a full OS-level keyboard? That’s where the Google Input Tools Chrome extension comes in. It lets you type in your preferred language directly into any text box on almost any website. You get transliteration, virtual keyboards, and IMEs all packaged into your browser. It supports every transliteration method from the Google Transliteration Service and over 90 keyboard layouts from Google Virtual Keyboard.

How To Get Started

First things first, grab the extension from the Chrome Web Store.

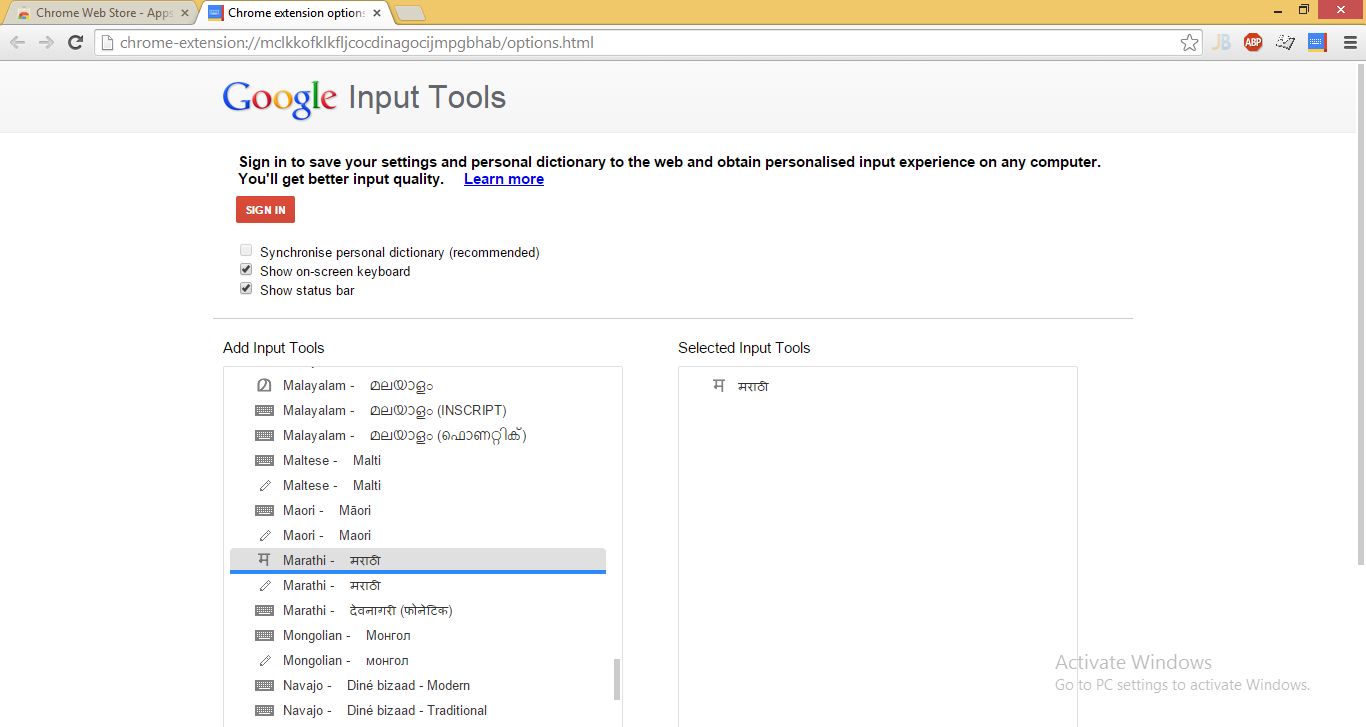
When you install it for the first time, it’ll ask you to pick your input methods. Just click the extension icon and select “Extension Options” from the pop-up. A new tab opens up where you can pick exactly what you need. Don’t worry if you miss something—you can always come back to this page to add, remove, or rearrange your tools.

For example, here’s a screenshot showing how I added Marathi to my input tools.

Google Input Tools Options

Continue reading Google Input Tools : Chrome Extension